PP · Patio Planning
Laying Out a Terrace for Evening Guests
How hosts arrange a terrace for evening guests: circulation, shelter and lighting for standing and seated groups, with checkable spatial guidance.
By Evening PatioPublished 1296 wordsPP-003

A terrace works for evening guests when three things are decided before the furniture arrives: a clear walking route, a sheltered zone for seated groups, and light placed where people stand rather than where the fixtures are easiest to mount. Circulation comes first, because everything else, tables, planters, heaters, is placed around the paths you leave open. Get the route right and the rest of the layout tends to settle itself.
Start with the route, not the furniture
Walk the terrace as a guest would. The entry point, the bar or kitchen door, the toilets and the exit all generate movement, and those movements should not cross the middle of a seated group. A useful working figure is a main path of at least 90 cm, which allows two people to pass or one person to carry a tray without turning sideways. Secondary paths between tables can be narrower, but anything below 60 cm stops being a path and becomes an obstacle.
Draw the route on paper before moving anything. Mark the fixed points: doors, steps, drains, sockets, a tree that cannot move. Then draw one continuous line from entry to exit and check that it does not pass within arm's reach of a seated guest's chair. If it does, either move the table or accept that the path will be blocked once people sit down.
This is the same logic that governs a mountain locanda, where a small dining room has to serve both residents and walk-in guests without anyone feeling pushed. The layout problem is identical whether the room is indoors or on a terrace: separate the through-traffic from the places where people settle.
How do you shelter seated guests without boxing in the terrace?
Shelter is not the same as enclosure. A seated guest loses heat faster than a standing one because the body is still and closer to the ground, where cold air collects. The goal is to slow the wind across the seated zone and to keep warmth near the table, not to build a wall around the terrace.
A screen on the prevailing wind side, roughly 1.2 to 1.5 m high, breaks the wind at seated height without blocking the view from standing height. Solid screens stop wind but also stop air movement, which can make a warm evening feel stale; slatted or woven screens let some air through and are usually more comfortable. Place the screen at least a metre from the nearest chair so that gusts do not curl over the top and drop onto the table.
Corners are the warmest places on a terrace because two sheltering surfaces meet there. If you have one good corner, put the largest seated group in it and let smaller tables take the more exposed positions. If the terrace is long and narrow, break it into two or three seated pockets with planters or low screens rather than lining tables along one wall.
Where should standing guests go?
Standing guests need a different layout from seated ones. They occupy more floor area per person, they move more, and they hold drinks at chest height, which means they need surfaces within reach. A standing group of four comfortably uses a circle about 1.2 m across; the same four seated at a table use roughly the same footprint but stay in it.
The practical answer is to give standing guests a defined zone near the entry or the bar, with a high table or a ledge at 100 to 110 cm. This keeps them out of the seated paths and gives them somewhere to put a glass down. If you have no high surface, a low wall or a wide planter edge works, provided it is stable and at least 40 cm deep.
Do not mix standing and seated groups in the same tight area. A standing guest beside a seated table will either block the server's route or lean over the table, and both are uncomfortable. A metre of clear floor between the two zones is usually enough.
Lighting for standing and seated guests
Lighting follows the same logic as circulation: light the places where people are, not the places where fixtures are easy to fit. A seated guest needs light on the table surface and on the faces of the people opposite, which usually means a low source, a table lamp or a pendant hung at 60 to 70 cm above the table. A standing guest needs light from above and slightly in front, so that faces are lit rather than silhouetted.
Avoid a single bright source in the middle of the terrace. It flattens the space, creates glare for anyone facing it, and leaves the edges dark. Several lower-output sources, each covering one seated pocket or one standing zone, give a more even result and let you switch off the parts of the terrace you are not using.
Check the colour of the light before you commit. Warm white, around 2700 K, reads as evening light and flatters both food and faces; cooler temperatures read as work light and make a terrace feel like a car park. Whatever you choose, keep the light out of guests' direct line of sight at seated eye level, roughly 1.1 to 1.2 m when seated.
Power and cables in the layout
Every light, heater or speaker needs power, and the layout should decide where the sockets go, not the other way round. Group the seated pockets first, then run power to each pocket rather than to each individual fixture. One outdoor socket per pocket, protected by a residual current device, is usually enough for a lamp and a small heater.
Keep cable runs along walls, under planters or beneath the terrace edge, never across a walking route. If a cable must cross a path, use a covered ramp or a cable protector, and check that it does not create a trip hazard for someone carrying a tray. Outdoor sockets should be rated for the location: IP44 for sheltered positions, IP65 or better where rain or spray can reach them.
Test the layout before the first guest arrives
A layout that looks right on paper can fail in practice. Before the first evening service, walk the terrace with a tray, sit at every chair, and stand in every standing position. Check three things: can you reach every table without asking anyone to move, can you see every guest's face from the position where you serve, and is there a light within reach of every seated group.
Then check the edges. Steps, level changes and the boundary between terrace and garden are where guests trip after dark. A low light at each step, or a change of surface material, marks the edge without lighting the whole garden. If the terrace has a single step, treat it as a design feature rather than an afterthought: light it, and keep the route to it clear.
Finally, decide what happens when the weather turns. A terrace that works in still air may not work in wind or light rain. Have a plan for moving the seated groups into the sheltered corner, and keep that corner free of stored furniture and cables so it can be used at short notice.
A layout that can be changed
The best terrace layouts are the ones that can be adjusted as the evening goes on. A table that can be moved, a screen that can be turned, a light that can be switched off: these give a host room to respond to the actual group in front of them rather than to an ideal plan. Start with the route, shelter the seated zone, give standing guests their own surface, and light each zone separately. Everything else is detail.
Reading notes
Next on the programme
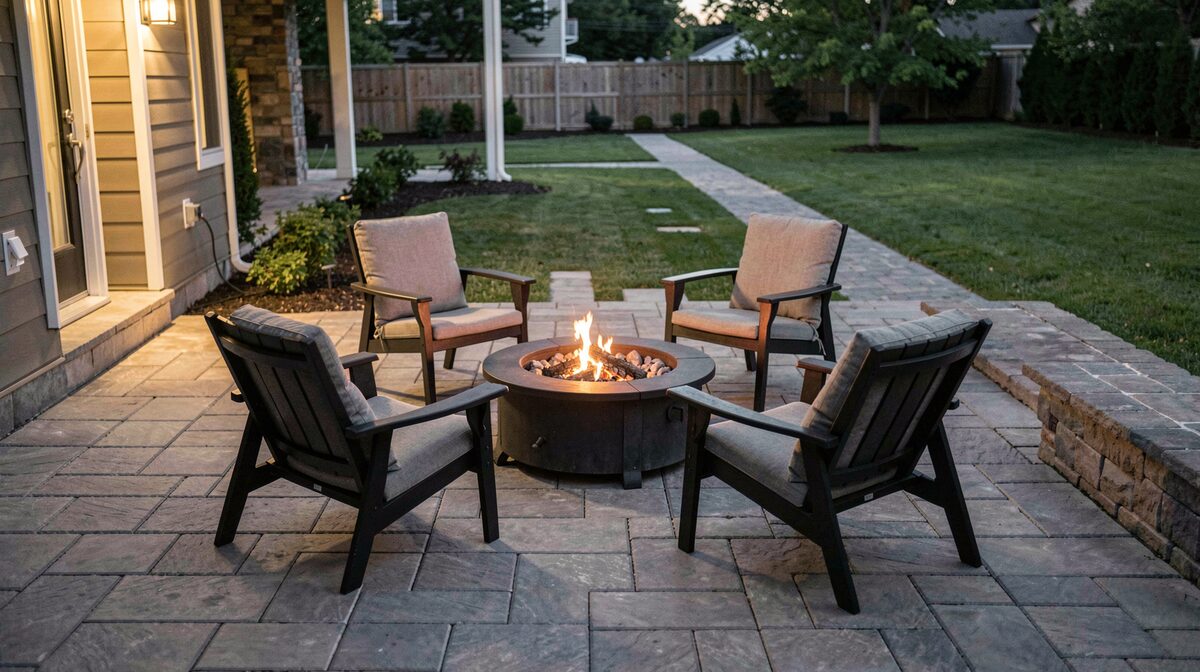 PP-001 · Patio PlanningArranging Patio Furniture Around a Fixed Focal Point
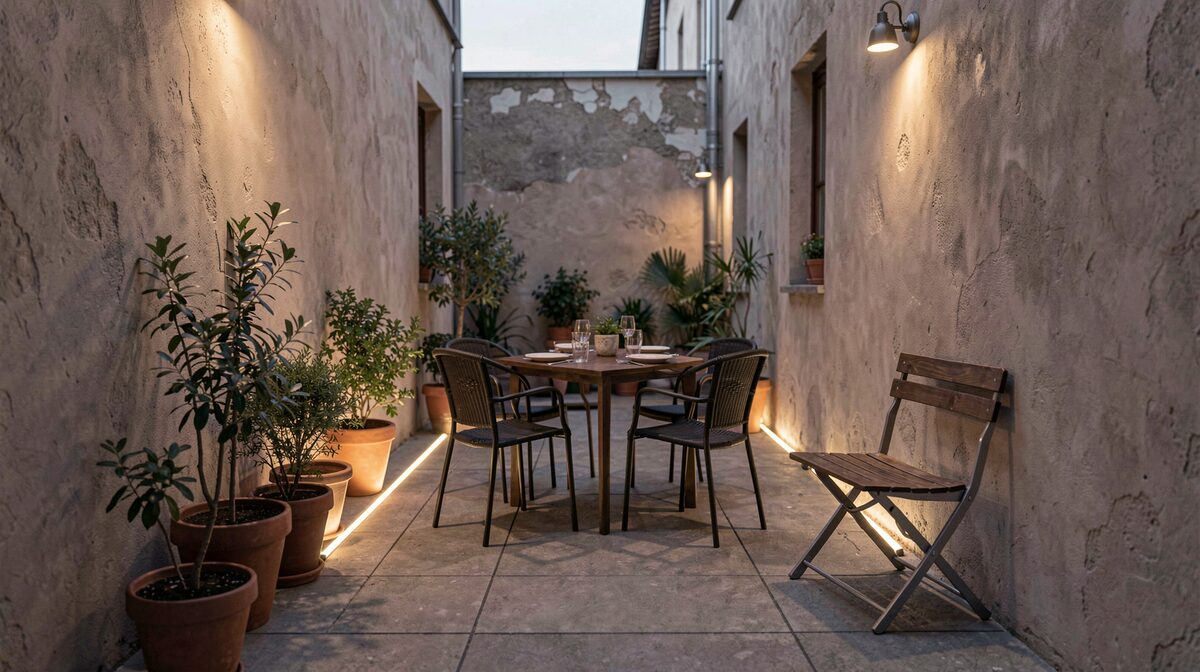 PP-002 · Patio PlanningCourtyard Terrace: Dining vs Circulation
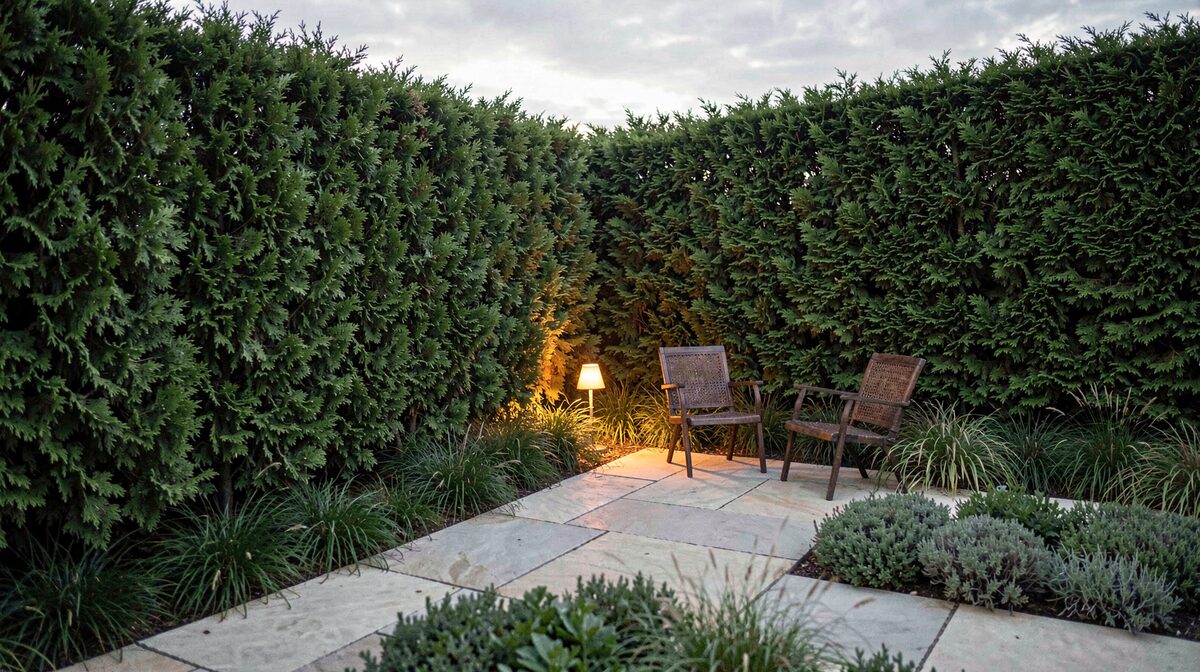 OC-003 · Outdoor ComfortLow Planting and Windbreaks on an Evening Terrace


